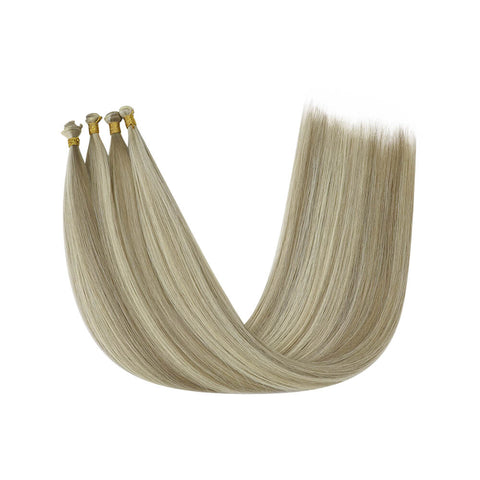
Weft hair extensions have become a go-to choice for individuals seeking to elevate their natural hair's length, volume, and thickness. The process of installing weft hair extensions, when done correctly, is a simple yet transformative journey that can redefine your entire look. In this detailed manual, we'll walk you through the step-by-step process of installing weft hair extensions, using the premium real hair weft extensions from the renowned brand Full Shine.
Preparation: Setting the Stage
Before delving into the installation, proper preparation of your natural hair is crucial. Begin by washing and conditioning your hair, ensuring it's thoroughly dry before initiating the installation process. Run a brush through your hair to eliminate any tangles or knots, and gather the necessary tools, including a comb, hair clips, and, of course, the weft hair extensions.

Sectioning: Creating Order from Chaos
The next step involves dividing your hair into manageable sections to streamline the installation process. Employ a comb to create a horizontal parting along the nape of your neck, securing the top section of hair with clips. This creates a clear path for attaching the weft extensions. Depending on the number of weft extensions you'll be using, you can further divide your hair into smaller sections.
Preparing the Weft: Crafting Perfection
Before embarking on the journey of attaching weft extensions, a crucial step awaits – the meticulous preparation of these strands for their new role. In the realm of weft hair extensions, Full Shine stands out, offering real hair weft extensions that come seamlessly pre-sewn onto a track, a thoughtful design that streamlines the attachment process. However, the path to perfection may require a bit of customization, contingent on your head's width and the strategic placement of the extensions.
Imagine these weft extensions as raw materials awaiting transformation into a masterpiece. Armed with sharp scissors, exercise caution and precision as you embark on the journey of crafting perfection. Your goal is not just to alter the size but to do so with finesse, ensuring the integrity of each hair fiber remains intact.
If you want to know more about installing weft hair extensions, just click the hyperlink for more information from Fullshine's another blog.

Attaching the Weft: Bringing It All Together
With the weft extensions prepped, it's time to attach them to your natural hair. Begin by applying a small amount of adhesive to the weft, ensuring a secure attachment. Gently press the weft onto the parted section of your hair, using a hair clip to hold it in place as you move to the next section. Repeat this process, working your way up the back of your head, until all weft extensions find their place.
Blending and Styling
Once the weft extensions are securely attached, it's time to seamlessly blend them with your natural hair. Employ a comb to delicately brush through the extensions, creating a flawless integration with your own hair. Feel free to unleash your creativity by styling the extensions using heat tools or hair products to achieve your desired look.
Installing weft hair extensions emerges as a straightforward yet powerful method to elevate your natural hair. By following these steps and choosing top-tier weft extensions like those from Full Shine, you can achieve a flawless and natural appearance. Whether you aim to add length, volume, or thickness to your hair, weft extensions offer versatility tailored to your unique needs. Dive into the world of weft hair extensions today, witness the incredible transformation, and embrace the newfound beauty they bring to your look.


